
Wildlife First Aid for Dogs:
Porcupine Quills, Skunk Spray, and More
Wildlife first aid for dogs starts with knowing what to do. Learn to handle porcupine quills, skunk spray, and other wildlife mishaps.
Wildlife first aid for dogs isn’t something most owners think about—until it happens. You’re on a peaceful evening walk. Your dog is sniffing the bushes, tail wagging, enjoying the cool air.
Then you hear it—a sudden yelp, followed by a frantic shake of the head. You look closer and see your dog’s face covered in porcupine quills. Or maybe it’s a skunk spray that hits before you even see the animal. Or a raccoon hissing from a tree, and your dog is barking uncontrollably.
These moments happen fast. And when they do, knowing what to do—and what not to do—can make all the difference. That’s what wildlife first aid for dogs really means: having a plan before you need it.
In this guide, I’ll walk you through the most common wildlife mishaps that don’t involve predators or toxins: porcupine quills, skunk spray, and encounters with animals like raccoons, opossums, and bats. These aren’t usually life-threatening, but they can be painful, stressful, and expensive if handled the wrong way.
I’m not a veterinarian. I’ve just spent time talking to vets, reading case studies, and learning what works. This guide is what I wish I’d known before my own dog’s first run-in with a skunk—and I’m sharing it so you can handle these situations with confidence.
Let’s get started.
What's in This Guide
In this guide, I’ll walk you through:
Porcupine quills — why they’re so dangerous and why you shouldn’t pull them yourself
Skunk spray — how to neutralize the smell (and what not to use)
Raccoons and opossums — rabies risk and how to handle encounters
Other wildlife encounters — bats, foxes, and less common run-ins
A wildlife first aid checklist — quick reference for every walk
The bottom line: Wildlife first aid for dogs isn’t about being paranoid—it’s about being prepared. These mishaps are rare, but knowing what to do makes them manageable.
Part 1
Porcupine Quills—A Painful Curiosity
Porcupine quills are one of the most painful—and most preventable—wildlife injuries a dog can get. The good news? If you know what to do (and what NOT to do), the damage is almost always manageable. This is the first lesson of wildlife first aid for dogs.
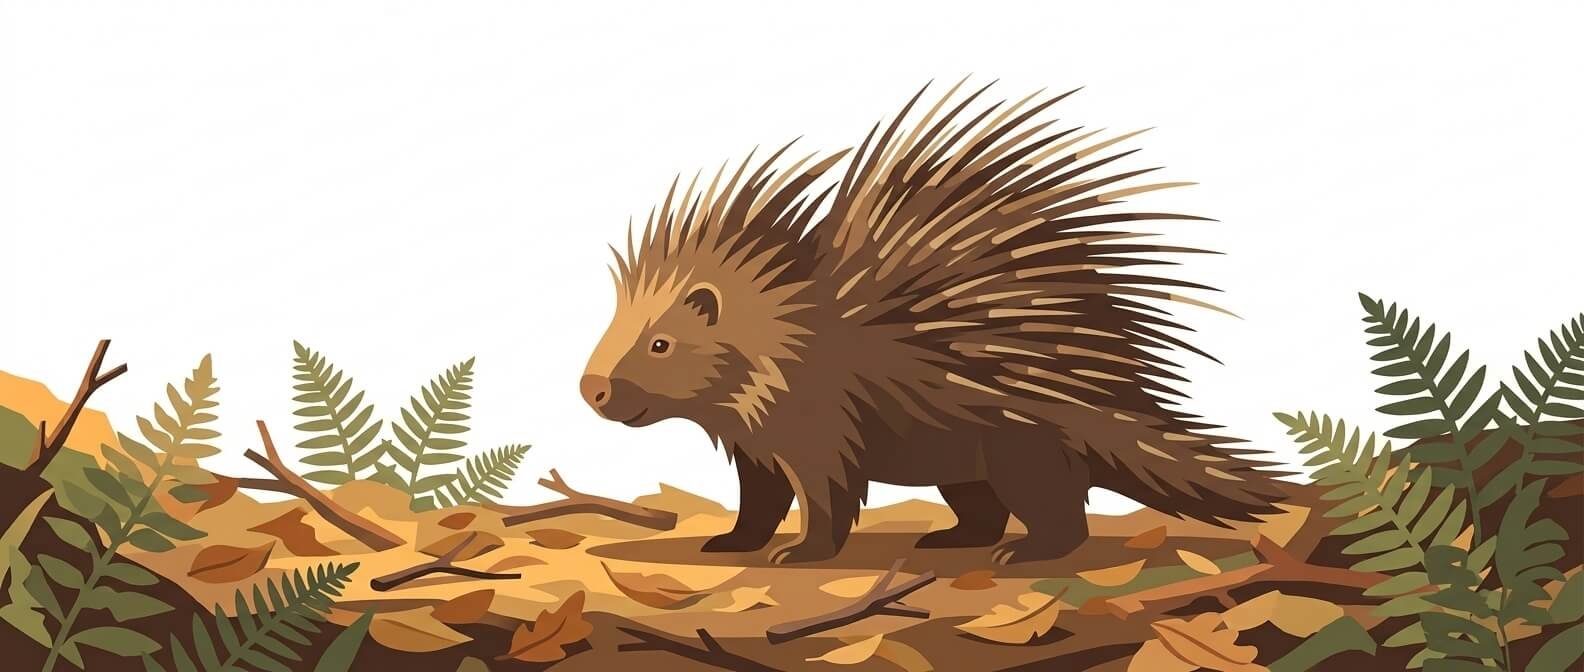
Why They're Dangerous
Porcupines aren’t aggressive animals. They don’t chase or attack. But when a curious dog gets too close—usually sniffing or barking—the porcupine’s defense mechanism kicks in: a tail full of quills, deployed in an instant. See the Humane Society’s guide to porcupines for more.
What makes them so dangerous:
Quill Feature | Why It's a Problem |
|---|---|
Barbed tip | The barbs act like tiny fishhooks—they grip the skin and make the quill work deeper with every muscle movement |
Sharp point | Quills can penetrate the skin easily, but they're even more dangerous in the mouth, throat, or eyes |
The "migration" factor | Quills left in the skin can travel inward over time, potentially reaching organs or joints |
Infection risk | Each quill carries bacteria that can cause localized infections or abscesses |
What NOT to Do (This Is Critical)
If your dog gets quilled:
Prevent your dog from rubbing or pawing at their face. This can drive quills deeper.
Stay calm – your dog will pick up on your panic.
Get to a vet as soon as possible. Call ahead so they know you’re coming.
Let the vet handle the removal. They have sedation, proper tools, and the ability to check hard-to-see areas.
What to expect at the vet:
Sedation or general anesthesia so your dog stays still
Careful extraction using surgical tools
Checking the mouth, throat, eyes, and paws for hidden quills
Pain medication and antibiotics to prevent infection
How Much Does It Cost?
Procedure | Typical Cost Range |
|---|---|
Basic quill removal (under 10 quills) | $200–$400 |
Extensive removal (50+ quills, sedation) | $500–$1,000+ |
Full anesthesia + hidden quills in mouth/throat | $800–$1,500+ |
Important: Quills in the mouth or throat are an emergency. They can obstruct breathing or be swallowed, causing internal damage.
Quick Answer: Porcupine quills are barbed, which means they work deeper into the skin with every movement—and can migrate to organs or joints over time. If your dog gets quilled, do NOT pull them out yourself. Keep your dog calm, prevent them from pawing at their face, and get to a vet. Quills in the mouth or throat are an emergency. Cost ranges from $200 (basic removal) to $1,500+ (full anesthesia + hidden quills).
Part 2
Skunk Spray—More Than Just a Smell
Skunk spray isn't just a smell—it's a chemical irritant that can cause eye damage, anemia, and gastrointestinal distress. Here's how to handle it correctly (and why tomato juice doesn't work). This is a core part of wildlife first aid for dogs.
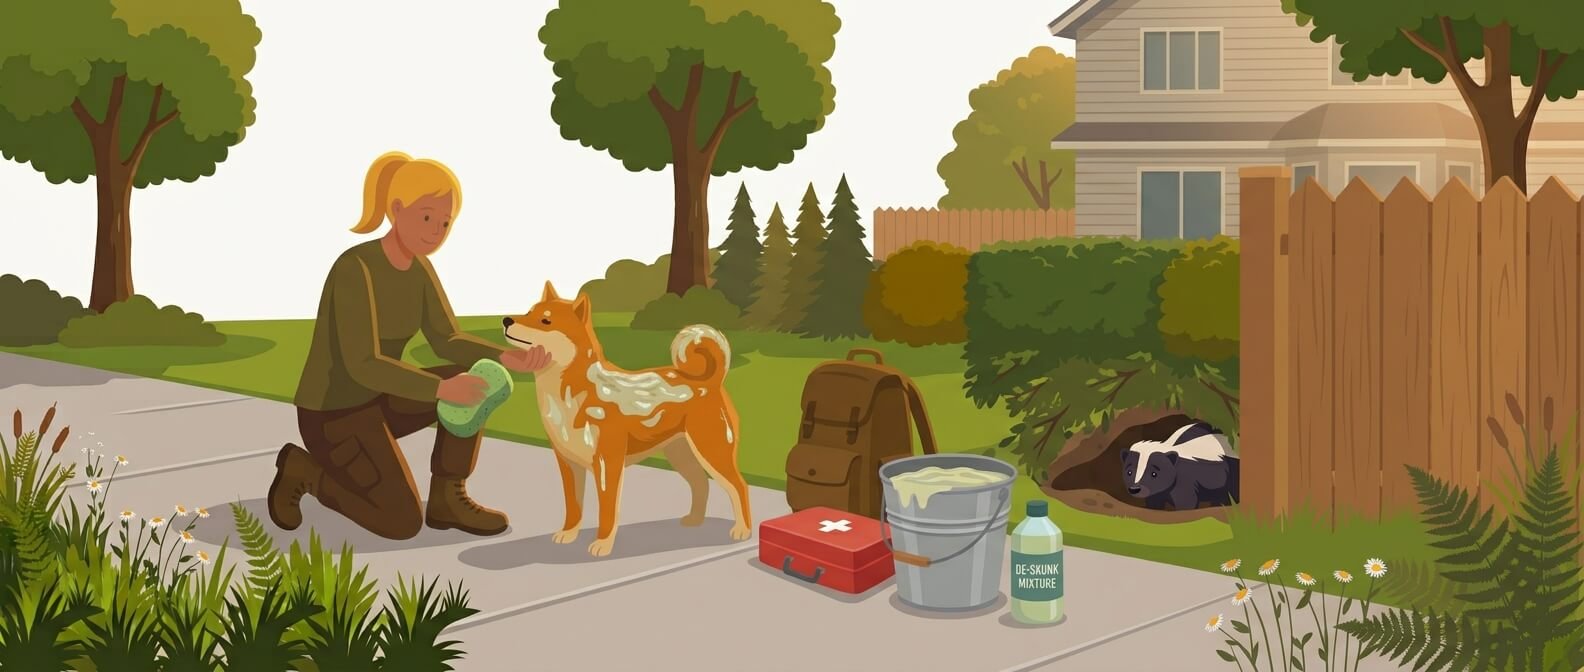
Why Skunk Spray Is a Problem
Skunk spray isn’t just an odor problem. It’s a chemical irritant that can cause serious issues if not treated properly.
Skunk spray contains thiols—sulfur compounds that also give rotten eggs their smell. They can cause:
Eye irritation and temporary blindness
Anemia (in severe cases, skunk spray can damage red blood cells)
Gastrointestinal distress if ingested
Respiratory irritation in dogs with preexisting breathing issues
The De-Skunking Recipe (For the Body)
After decades of trial and error, veterinarians and chemists agree on one proven recipe. Use this. Skip the tomato juice. Tomato juice only masks the smell temporarily—it doesn’t break down the thiols.
The Recipe
Ingredient | Amount |
|---|---|
Hydrogen peroxide (3%) | 1 quart (1 liter) |
Baking soda | 1/4 cup (60 g) |
Dish soap (Dawn or similar) | 1 teaspoon |
Instructions:
Mix the ingredients in a bowl or bucket. (Do not store this mixture—it’s unstable and can expand or even explode in a sealed container.)
Wet your dog’s coat with the mixture. Use a sponge or your hands.
Work the mixture into the coat—focus on the areas that were sprayed.
Let it sit for 5 minutes. (Don’t let it get into your dog’s eyes, mouth, or nose.)
Rinse thoroughly with warm water.
Repeat if necessary. One application usually does the job.
What NOT to Use
Product | Why It's Bad |
|---|---|
Tomato juice | Masking only; doesn't neutralize the compounds |
Vinegar | Too acidic and may irritate skin |
Shampoo alone | Doesn't break down the oils in skunk spray |
Bleach | Dangerous chemical burns |
Ammonia-based cleaners | Toxic to dogs |
If It Gets in the Eyes or Mouth
Eyes
Flush with clean water for 10–15 minutes. If redness or squinting persists, see your vet.
Mouth
Rinse with water and watch for drooling, pawing at the mouth, or refusal to eat. Contact your vet if symptoms appear.
Severe Cases
If your dog seems weak, pale, or lethargic after a spray, get to the vet. Anemia is a real risk in rare cases.
See the Humane Society’s guide to skunk spray for more.
Skunk Encounters: Prevention
Keep your dog on a leash in areas where skunks are common.
Secure garbage and compost—skunks are attracted to food scraps.
Skunks are nocturnal. If you walk at night or early morning, be extra cautious—a skunk’s warning sign (tail up, stomping feet) means it’s about to spray.
Quick Answer: Skunk spray isn’t just a smell—it’s a chemical irritant that can cause eye irritation, anemia, and GI distress. Use the proven de-skunking recipe: 1 quart (1 liter) of 3% hydrogen peroxide + 1/4 cup (60 g) baking soda + 1 teaspoon dish soap. Apply for 5 minutes, then rinse. Never use tomato juice, vinegar, or bleach. If spray gets in the eyes, flush with water for 10–15 minutes and call your vet.
Part 3
Raccoons, Opossums, and Bats—Rabies and Other Risks
Not every wildlife encounter involves a predator or a toxin. Sometimes it's the animals you barely notice—raccoons, opossums, bats, and foxes—that carry the biggest disease risks. Here's what to watch for. This is a key part of wildlife first aid for dogs.
Raccoons
Raccoons are common in urban and suburban areas, and they’re smart enough to know that dogs are dangerous. Usually, a raccoon will run away before your dog gets close. But when cornered or defending young, they can be aggressive.
Risks:
Rabies vector species — raccoons are one of the most common carriers of rabies in North America.
Bite and scratch injuries — raccoons have sharp teeth and claws.
Leptospirosis — raccoons are a primary carrier.
Roundworm (Baylisascaris) — a parasite transmitted through raccoon feces that can cause serious neurological damage in dogs.
What to do:
If your dog is bitten or scratched by a raccoon, see a vet immediately. Rabies and bacterial infections are serious risks.
Report the encounter to local animal control.
If the raccoon appears aggressive, disoriented, or active during the day, it may be sick—call animal control, don’t approach it.
Opossums
Opossums get a bad rap. They actually eat ticks (helpful) and are generally not aggressive. When threatened, they “play dead”—which can be a great show for a curious dog.
Risks:
Less rabies risk — opossums have a lower core body temperature that makes them unlikely carriers of rabies.
Bites can happen if a dog backs an opossum into a corner.
What to do:
If your dog gets bitten, clean the wound and see your vet if it’s deep or bleeding.
Prevention: Keep your dog on a leash if opossums are common in your area.
Bats
Bats are a primary rabies carrier in many regions—including the U.S., Europe, and parts of Asia. The problem is that dog-bat encounters are often silent: a dog picks up a sick bat, or a bat bites a dog who’s sleeping outside.
Risks:
Rabies — bat bites can be small and hard to notice.
Secondary infection — if the bite breaks the skin.
What to do:
If you find a bat in your house where your dog is, your vet may recommend a rabies booster.
If your dog picks up a bat, contact animal control. They may need to test the bat for rabies.
See the CDC’s rabies page for more on rabies prevention.
Foxes
Foxes are generally shy and avoid dogs. But they can carry rabies, and they may attack if cornered or rabid.
Risks:
Rabies vector species
Mange (sarcoptic) — foxes carry a type of mange that can transfer to dogs.
What to do:
If a fox is near your dog, pick up your dog and back away slowly.
If the fox approaches, make noise—clap, shout, wave your arms.
If your dog gets into a fight, see your vet, and report the encounter.
Quick Answer: Raccoons, bats, and foxes are all rabies vector species—if your dog is bitten or scratched, see a vet immediately. Raccoons also carry leptospirosis and a roundworm parasite that can cause neurological damage. Opossums have a lower rabies risk (their body temperature is too low for the virus), but they can bite if cornered. If your dog picks up a bat, contact animal control—the bat may need to be tested for rabies.
Part 4
Bites, Scratches, and What to Do After
Most wildlife encounters end with a scare, not a wound. But when bites or scratches do happen, what you do in the first 10 minutes can change the outcome. Here's the basic wildlife first aid for dogs every owner should know.
Basic Wildlife Encounter First Aid
Scenario | First Aid Steps |
|---|---|
Bite or scratch | Clean with saline or mild soap, apply pressure if bleeding, see vet if deep or if infection risk |
Eye injury | Flush with sterile saline, cover with a clean cloth, see vet immediately |
Swelling or puncture | Don't probe or squeeze. Let your vet assess the depth |
Seizure or paralysis | Emergency—get to vet immediately |
When to Call the Vet Immediately
The wound won’t stop bleeding.
The animal may be rabid (aggressive, disoriented, active during the day).
Your dog is showing neurological symptoms (seizures, paralysis, confusion).
A raccoon or bat made contact with your dog’s mouth or eyes.
The wound is deep, near the throat, or on a joint.
If the animal may be rabid, see the CDC’s rabies page for guidance on what to do next.
Quick Answer: For bites and scratches from wildlife: clean with saline or mild soap, apply pressure if bleeding, and see a vet if the wound is deep or there’s an infection risk. For eye injuries, flush with sterile saline and see a vet immediately. Don’t probe or squeeze puncture wounds. Call your vet right away if the wound won’t stop bleeding, the animal may be rabid, your dog shows neurological symptoms, or a raccoon or bat made contact with the mouth or eyes.
FAQ: Wildlife Mishaps and First Aid for Dogs
No. Even if there are only one or two quills, you should still go to the vet.
Here's why:
Quills are barbed—they grip the skin like tiny fishhooks. Pulling them out can break off the tip, leaving a piece inside that will continue to migrate deeper.
You can't see everything. Quills can be hidden in the gums, the roof of the mouth, the throat, or even the eyes. Your vet has the tools and sedation needed to check properly.
Infection is a real risk. Each quill carries bacteria that can cause abscesses or systemic infection.
The broken tip will continue to migrate inward over time. It can travel toward joints, organs, or major blood vessels. This can cause:
Chronic pain or lameness
Abscesses or infections
In rare cases, organ damage or a life-threatening condition
What to do: If you've already pulled a quill and suspect the tip broke off, call your vet immediately. They may want to X-ray the area to locate the fragment.
No. Tomato juice is an old wives' tale. It may temporarily mask the smell, but it doesn't break down the thiols (the sulfur compounds that cause the odor). The moment your dog gets wet again, the smell returns.
What works: The hydrogen peroxide + baking soda + dish soap recipe. It oxidizes the thiols and neutralizes the odor at a chemical level.
In most cases, no. But skunk spray can cause:
Eye irritation or temporary blindness (if sprayed directly in the eyes)
Anemia (rare, but in severe cases skunk spray can damage red blood cells)
Respiratory distress (especially in dogs with preexisting breathing issues like flat-faced breeds)
When to see a vet: If your dog is weak, pale, lethargic, or has redness or swelling in their eyes after a spray, see your vet immediately.
Stay calm and separate the animals safely.
Clean the wound with saline or clean water. Apply pressure if it's bleeding.
Get to a vet as soon as possible. Raccoon bites can become infected quickly, and raccoons are a primary rabies vector.
Report the encounter to local animal control. They may need to track the raccoon for rabies testing.
Rarely. Opossums have a lower core body temperature than most mammals, which makes it difficult for the rabies virus to survive. They are considered low-risk carriers.
That said, opossums can still bite if cornered. If your dog gets bitten, clean the wound and see your vet if it's deep or showing signs of infection.
Yes. Bat bites are small and can be easy to miss. If your dog was exposed to a bat, there may be a bite wound you can't see.
What to do:
If you find a bat in a room where your dog was, call your vet immediately—they may recommend a rabies booster.
If your dog picked up a bat, contact animal control. They may need to test the bat for rabies.
Raccoon feces can carry Baylisascaris procyonis—a roundworm that can cause severe neurological damage in dogs.
What to do:
Call your vet within 24 hours. There are medications that can prevent infection if given early.
Watch for symptoms like lethargy, poor coordination, circling, or loss of appetite.
The Wildlife Mishaps First Aid Checklist
Before every walk in a wildlife-prone area, run through this quick checklist:
☐ My dog is on a short, fixed-length leash (4–6 feet / 1.2–1.8 m) in brushy areas.
☐ I know the warning signs of a skunk (tail up, stomping feet).
☐ I know what a porcupine looks like and how to avoid it.
☐ I have a vet’s phone number saved in my phone.
☐ I know the location of the nearest 24-hour emergency vet.
☐ I’m staying off my phone and watching my dog’s behavior.
☐ I’ve talked to my vet about the rabies vaccine and leptospirosis vaccine.
☐ I know the de-skunking recipe by heart (or have a commercial skunk remover ready).
The bottom line: This checklist takes 30 seconds. It can save your dog from a painful—and expensive—vet visit.
Final Thoughts
Wildlife encounters are part of the outdoor experience. Most are harmless. But the ones that aren’t can be scary—and expensive.
The good news: Most of these mishaps are preventable with a leash and a little situational awareness. And when they do happen, knowing the right steps to take can save you time, money, and unnecessary stress for you and your dog. That’s what wildlife first aid for dogs is really about.
I’ve learned these lessons through research and my own close calls. Please learn them too—your dog is counting on you.
Stay safe out there. That’s what wildlife safety for dogs is really about.
More in This Series
This article is part of our Wildlife & Environmental Risks series. Explore the other guides below.
Wildlife Encounters Dog Safety: How to Protect Your Dog from Coyotes, Snakes, and More — The complete overview of wildlife safety for dogs, how to prevent encounters, recognize warning signs, and respond fast when something goes wrong outdoors.
Coyote Attacks on Dogs: Prevention and Emergency Response— Coyote attacks on dogs are rising, but they’re highly preventable. Here’s how to avoid encounters, what to do if a coyote approaches, and when to use protective gear.
Toxic Water Risks for Dogs: Blue-Green Algae and Leptospirosis Explained— Toxic water risks for dogs are real. Learn how to spot blue-green algae, prevent leptospirosis, and keep your dog safe around ponds, lakes, and puddles.
Pesticide Poisoning in Dogs: Hidden Dangers on Walks— Pesticide poisoning in dogs is a real risk. Learn how to spot rodenticides, lawn chemicals, and antifreeze — and what to do in an emergency.
All part of the Wildlife & Environmental Risks module here on OutdoorDogSafety.com.
Disclaimer: This content is for informational purposes only and does not constitute veterinary or professional safety advice. Always consult with a qualified veterinarian or professional dog trainer regarding your dog’s specific needs and safety considerations.